Focus on Tanzania [Encore Publication]: Every wildlife photographer’s dream destination

There are very few destinations more exciting to us travel photographers than East Africa.  My family’s 2.5-week trip to Tanzania, with a brief stroll into Kenya, was a dream come true.  Operated by Overseas Adventure Travel, the adventure began with a pre-trip excursion to the Kilimanjaro region, then moved on to the regional capital city of Arusha and to safaris in Tarangire National Park, Olduvai Gorge, Serengeti National Park, and Ngorongoro Crater.  It goes without saying that the wildlife photography in Tanzania is second-to-none, but we found the authentic cultural interactions with the nomadic Maasai and other local people to be a highlight of the trip.

The usually shy Mount Kilimanjaro made a brief appearance as we awaited sunset near our lodge.  The glaciers that adorn this iconic landform are melting quickly as a result of climate change, so this is a place to visit soon.  I used a polarizing filter on a medium telephoto lens to reduce the haze and bring out the texture of the mountain, and I framed the shot through some branches near our campfire.

Mount Kilimanjaro lit by alpenglow.  Buy this photo

On a game drive in the Kilimanjaro region, we encountered this lovely lilac-breasted roller.  To capture this image, I used a long telephoto lens (500mm, which was equivalent to 750mm when fitted on this camera) and stabilized it on a beanbag that I rested on the top of the safari vehicle.  This is a very important accessory to bring with you on a safari, as you cannot fit a tripod in a safari vehicle and a monopod is awkward.  While the beanbag that I use is no longer available, this one is well reviewed by photographers and represents a good value.


Lilac breasted roller captured with a 500mm lens in the Kilimanjaro region.  Buy this photo

The cultural learning and interaction was a big part of this trip.  Here my older daughter is greeted by a young Maasai woman as we arrived at their settlement.  The Maasai are nomadic herders, usually moving from place to place to pasture their cattle throughout the seasons of the year.  It was a fascinating opportunity to meet them and learn about their way of life, and to make portraits with the Maasai people we met.

A warm welcome as we arrived at the first of two Maasai villages visited during our trip.  Buy this photo

I had a fun interaction with this young Maasai boy by showing him the images as I shot his portrait in various places around the village.  He had not seen many photos of himself.  Here he is posing in front of his family’s house.

A Maasai boy by his family’s shelter.  Buy this photo

Our visit to the bustling city of Arusha was intended to be a staging point for the game viewing excursions to follow, but we found Arusha to be a very interesting cultural crossroads.  Here is a shot of what passes for a towing service in the area, a broken-down van being pulled to a service station on top of a donkey cart.  Always be on the lookout for serendipitous moments like this one when you travel!

A street scene in Arusha, the region’s largest city.  Buy this photo

Along the road from Arusha to Tarangire National Park, we stopped to chat with a group of several young Maasai men.  They had recently undergone the ritual circumcision ceremony that marked an important milestone on their journey to become warriors.  For the next six months they would wear the special face paint while they underwent their final training.  Our local guide was very helpful in facilitating our conversation.  Through him, I asked this man’s permission to make a portrait.  This was shot with a moderate telephoto lens and a wide aperture to soften the background.

A young man nears the end of his journey to becoming a Maasai warrior.  Buy this photo

Tarangire National Park is a gem of a nature preserve that is often overlooked by visitors to Tanzania.  Be sure to visit Tarangire if at all possible!  Here’s a shot of a baby baboon in a group of baboons we were observing there.  When shooting backlit wildlife, use your camera’s spot metering mode with the focus point on the animal, so your camera won’t underexpose the main subject.

A playful baby baboon in Tarangire National Park.  Buy this photo

We stopped for a visit to a second Maasai settlement, very different from our first Maasai encounter.  This second group of Maasai were only semi-nomadic and lived much of the year in a more permanent settlement.  While their way of life was a bit less precarious, and included public education and solid housing, they still lacked a source of safe drinking water, a common problem in East Africa.  We presented the chief with a water filter we had purchased in Arusha, for use by the whole village.  This group portrait was made of the villagers when they accepted our gift of the water filter.

Maasai villagers with their new water filter.  Buy this photo

Serengeti National Park is the stuff we travel photographers’ dreams are made of!  Along with game walks and game drives in open safari vehicles, we also had the chance to soar silently above the Endless Plains in a hot air balloon.  This is an amazing way to view the migrations of the herds and the predators and scavengers that tag along.  This image was made by shooting down from the basket of our balloon toward a balloon closer to the ground.  You can see the trees and herds of wildebeest on the plains below.

Safari by hot air balloon.  Buy this photo

Of the hundreds of animal species we encountered, including so much more than just the Big Five, the leopard was one of the most elusive.  Here we spotted (as it were) a leopard napping in a tree in Seregenti National Park.  This shot was made with a long telephoto lens resting on a beanbag in our safari vehicle.  My go-to lens for wildlife photography is the Sigma 150-500mm f/5-6.3 lens.  It’s more economical than a Nikon or Canon super-tele, and it produces reasonably sharp images even when used at its widest aperture.  You can spend much more on this type of big glass if you want or need to, but I’ve found this lens works quite well for me.

A sleepy leopard yawns in a tree above the Endless Plains of Serengeti National Park.  Buy this photo

The migration of the herds is an annual event across the combined national parks of Serengeti in Tanzania and Maasai Mara in Kenya.  It’s a spectacular sight as millions of wildebeest, zebra, and gazelles slowly migrate across plains and rivers, occasionally being eaten by the predators who follow them.  To give a sense of the scale and the action, in this image I zoomed in on a group of wildebeest with a telephoto lens so as to compress the scene.

A small vignette from the massive migration of the herds across the East African plain.  Buy this photo

We were very fortunate to come across this quiet scene of a lioness with her newborn cubs.  We watched from a distance so as not to disturb this family as she cleaned and played with her two cubs, them mewing like housecats all the while.  The light was low in this glen, and the long telephoto lens was slow, so I stabilized it on a beanbag and shot at a higher ISO setting to allow for a reasonably fast shutter speed.  There was some noise in the image as a result of the high ISO (camera sensors weren’t as good at high sensitivities back in 2012), but I did my best to reduce the noise during post-processing.

A mother lion spends some quality time with her cubs.  Buy this photo

We visited a primary school in a small community.  This was one of the first schools in Tanzania to serve breakfast and lunch to students who walk miles each way to school and would have to double their daily walking distance if they had to return home midday for lunch.  My daughter enjoyed talking with students about their daily lessons.

Visiting a classroom at a rural primary school.  Buy this photo

Farewell to Tanzania!  My family enjoys a glorious African sunrise at our tented camp located right inside the national park.

A Serengeti sunrise.  Buy this photo

Want to see posts on other travel photography destinations?  See them all here: http://www.to-travel-hopefully.com/category/destinations/.

Have you visited East Africa?  What were the highlights of your trip?  Please share your comments here.

Focus on New Orleans [Encore Publication]: This iconic US city pulsates with jazz, creole, and historic beauty

Some places are magnets that draw us back again and again.  I’ve made at least a dozen visits to New Orleans and each time, I find something new.  It’s an iconic US city that also defies easy categorization.  Home to unique and cutting-edge forms of music, cuisine, and culture, it is also steeped in a grand historic past that evokes France, Spain, Africa, and the Deep South of the US.  Quite simply, there is no other place like New Orleans, and nowhere else do travel photographers find more charismatic subjects.  Here are a few of my favorite images from a recent visit to NOLA, along with a few words about what they depict and how they were made.

Aside from Paris, I can’t think of any other city that has influenced the cocktail more than New Orleans.  Here I captured my older daughter enjoying a classic NOLA libation during dinner on our first night in the Big Easy.  I used only natural light and selected a large aperture to soften the background.  Laissez les bons temps rouler!  Buy this photo

It’s boozy, vomit-filled, sophomoric, touristy, overpriced, and downright awful, but Bourbon Street is a part of the landscape and is worth a quick walk-by.  At night, its neon assault can almost seem romantic.  This shot was handheld using a high ISO setting and a small aperture for greater depth of field.  Buy this photo

The lovely Spanish colonial architecture of the French Quarter cries out to be photographed.  I made this shot of a wrought iron balcony using a telephoto lens and enhanced the color vibrancy during post-processing.  Buy this photo

It’s the tiny cheap eateries as much as the temples of haute gastronomy that keep New Orleans at the top of the list of cities for dining.  Be sure to grab some po’ boys, beignets, or muffulettas at these humbler places, and bring your camera to catch some of the action.  This image of workers in a po’ boy shop was shot from the hip, street photography style, using a high ISO to allow for a quick shutter speed.  Buy this photo

New Orleans is rightly famous for its jazz, which seems to seep through every crack in the pavement of the city and can be heard in places humble or elevated.  None is better than the iconic Preservation Hall.  As with many performance venues, this hall allows photography without flash, but it is always better to ask permission first and to be discrete during shows.  Use a fast lens and high ISO setting to allow a fast shutter speed.  Buy this photo

A short trip outside of the city quickly reminds you that New Orleans is a part of the American Deep South.  This image was shot from an airboat plying the bayous of Jean Lafitte National Historic Preserve.  I metered the exposure on the lush vegetation lining the waterway so as to avoid overexposure from the bright reflections.  Buy this photo

I captured this image of an alligator seeking the sun on an overcast winter’s day by framing tightly around the gator and its reflection.  In post-processing, I cropped to emphasize the symmetry of reptile and reflection and converted the image to black-and-white, while increasing its contrast a bit.  Buy this photo

I’m a big fan of food photography, especially when the plate is as strikingly beautiful as this one served at Brigtsen’s Restaurant.  I framed the shot tightly with a fast prime lens and a wide aperture to reduce the depth of field.  Buy this photo

Wherever we travel, we should make images that bring out a sense of place.  This image of my daughters strolling in the Garden District works because it captures the iconic symbols of this neighborhood–the stately mansions and live oak trees–while being a bit playful and framed in an unexpected way.  And as I’ve said many times, remember to capture your travel companions in some of your shots.  Buy this photo

Have you visited New Orleans with a camera in hand?  Please share your experiences.  Where do you like to visit and what do you like to shoot?

Want to read more posts about travel photography destinations?  Find them all here: Posts on Destinations.

Filtered Down to the Essentials [Encore Publication]: Why you should always have these filters in your bag

Filters are the Rodney Dangerfield of photographic gear: They don’t get enough respect.  Most photographers will begin to salivate when talking about the latest camera bodies or lenses and even plates or heads for our tripods, but we tend to think of filters as pedestrian items, if we think about them at all.  I nearly always make room in my bag for several filters, and I believe that using them properly is more important than what camera or even which lens I choose.  Let’s look into why these affordable little accessories are so important.

Three kinds of filters are essential gear for most photographers.  I’ll cover each type here.  Note that you must use a filter that is the correct size to attach to your lens.
It’s a good idea to keep a UV filter (also known as a haze filter) attached to your lenses at all times, as this helps protect the front element of the lens from fingerprints, moisture, and even scratches.  In addition to offering some physical protection for your lens, a good UV filter can also improve image quality when there is atmospheric haze or moisture in the air.  Use a good quality filter, though, as some can adversely affect your image quality.  I would recommend removing the UV filter when shooting with certain other combinations of filters, as the edges of the image can be cut off (vignetting) with too thick a stack of filters on the end of the lens.  In most cases, use of a UV filter does not affect the exposure more than about half a stop, so they can be used in most lighting conditions. I’ve had good luck with Hoya UV filters.  Always be sure to look at the specifications for your lens before buying any screw-on filter, because the diameter of the filter thread must match the size of the lens.

The second must-have type of filter is the circular polarizer.  A polarizing filter can reduce glaring reflections and can darken skies and enhance natural colors.  This little gadget is almost a secret weapon for making images that really pop.  Again, I like the Hoya products, which are thin, well made, and perform as they should.

It takes a bit of practice to learn to use a polarizing filter properly.  While looking through your camera’s viewfinder or LCD screen, turn the outer part of the filter slowly to see the effect.  The greater the angle between the light source (typically the sun) and the shooting direction, the bigger the effect of turning the outer ring of the filter.  You will observe as you rotate the outer ring of the filter that the sky, clouds, and any bodies of water will transform quite dramatically.  When you see the effect you like best, overshoot a little bit and then rotate the outer ring back to where you want it.  In most cases, I recommend not using the maximum amount of polarizing effect when there are reflections from water or glass, because you usually want some of these reflections to be visible in your final image, but this is art, not science, so you get to choose the effect you want.  Note that using a polarizing filter will cost you about 2-3 stops of exposure.  You will have to use a slower shutter speed and/or faster ISO or wider aperture, so use a steady tripod if the lighting conditions are dim.
Here’s an example of a shooting situation in which a polarizing filter can really make an image pop.  For this shot of the imposing peaks in Southern Patagonia’s Torres del Paine National Park, I rotated the polarizer to about 2/3 of its maximum effect to darken the sky, make the clouds more dramatic, and bring out the bright sheer faces of the granite peaks.

A circular polarizing filter makes a big difference when shooting mountains, skies, and/or bodies of water.  Buy this photo

The final essential filter is the neutral density (ND) filter.  These reduce the amount of light that reaches the camera’s sensor, so you can use slower shutter speeds to blur motion, or so you can use a wider aperture to get a shallow depth-of-field, even in bright sunlight.  ND filters come in different strengths as designated by the number in the filter’s specifications.  For example, an ND2 filter blocks 1/2 the light for a one-stop reduction in exposure, while an ND8 filter blocks 7/8 of the light for a three-stop reduction in exposure.  It’s a good idea to carry a range of ND filters for each lens you plan to use in the field.  A newer type of ND filter even allows for variable adjustment of the strength of the ND effect with just one filter, but these tend to be expensive.
A classic example of a situation in which you’d want to use an ND filter is when shooting moving water in bright lighting conditions.  You may want to use a longer shutter speed to blur the water, but even at your camera’s lowest ISO setting and your lens’ smallest aperture there could still be too much light for a slow shutter speed.  Mounting an ND8 filter to your lens will allow you to use a shutter speed eight times longer than without the filter, so for example you could move from shooting at 1/30 of a second to 1/4 of a second.

Here’s a photo of my younger daughter by a waterfall in Yosemite National Park.  The image was made in the early afternoon under very bright sunlight, bright enough that even using my camera’s slowest native ISO sensitivity and my lens’s most narrow aperture, I would still have had to use a shutter speed of 1/60 of a second, which would have frozen the water in the falls.  Using an ND8 filter, however, I was able to slow down the shutter speed to 1/8 of a second, long enough to impart a nice blur to the falling water.

 Use of a neutral density filter allowed me to blur the falling water even under very bright lighting conditions.  Buy this photo

I recommend carrying a kit containing several ND filters of different strengths for each lens you plan to use for landscape images.  Once again, make sure the diameter of the filter matches the diameter of the lens you intend to fit it to.

Note that there’s another type of ND filter called the “graduated ND filter,” and this filter varies the light-blocking effect from one end of the filter to the other end.  I used to use this type of filter quite often, but in this digital era I find it usually works just as well to simulate the effect of a graduated ND filter using post-processing software later.

Armed with these three types of filters, you will be prepared to create the images you have in your mind, even under challenging shooting conditions.  Happily, filters are small, light, and not terribly expensive, making them one of the better values we photographers can find.

Which filters do you always carry, and when have you found them most useful?  Any tips or tricks on how to use filters for the best results?  Please leave a comment in the box after this post to share your thoughts.

Want to see more posts about photography gear?  Find them all here: Posts on Gear.


Focus on Total Solar Eclipse in Chile: A photo essay of images from Chile and Easter Island

Having just returned from leading a 2.5-week photography tour through Chile and Easter Island and including the July 2 total solar eclipse, I’d like to share a few favorite images. You can find the full photo gallery here: https://www.kadlerphotography.com/Travel-Photography/Chile-Eclipse.

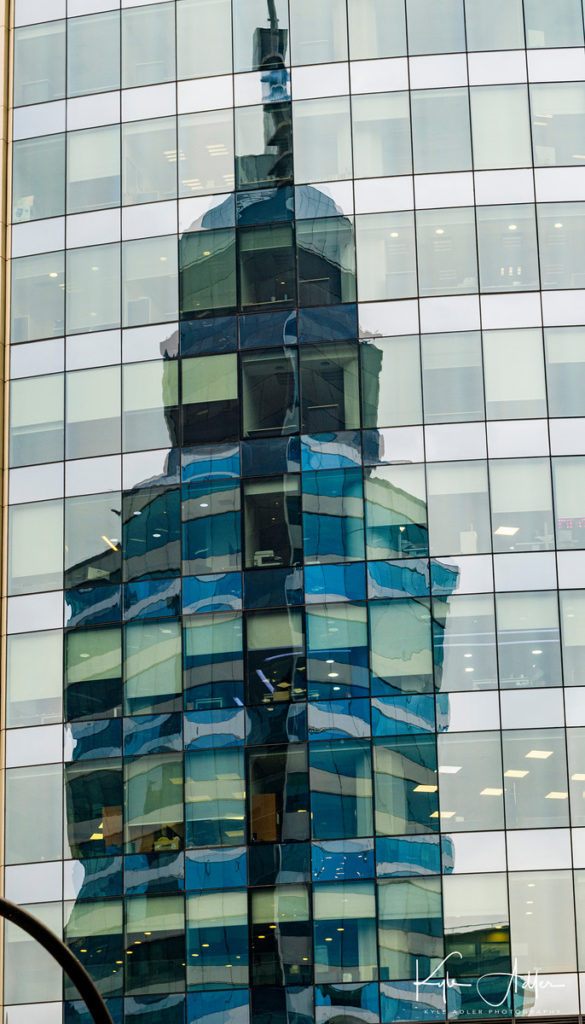
Santiago Cathedral’s tower reflected in the windows of a modern glass office building.
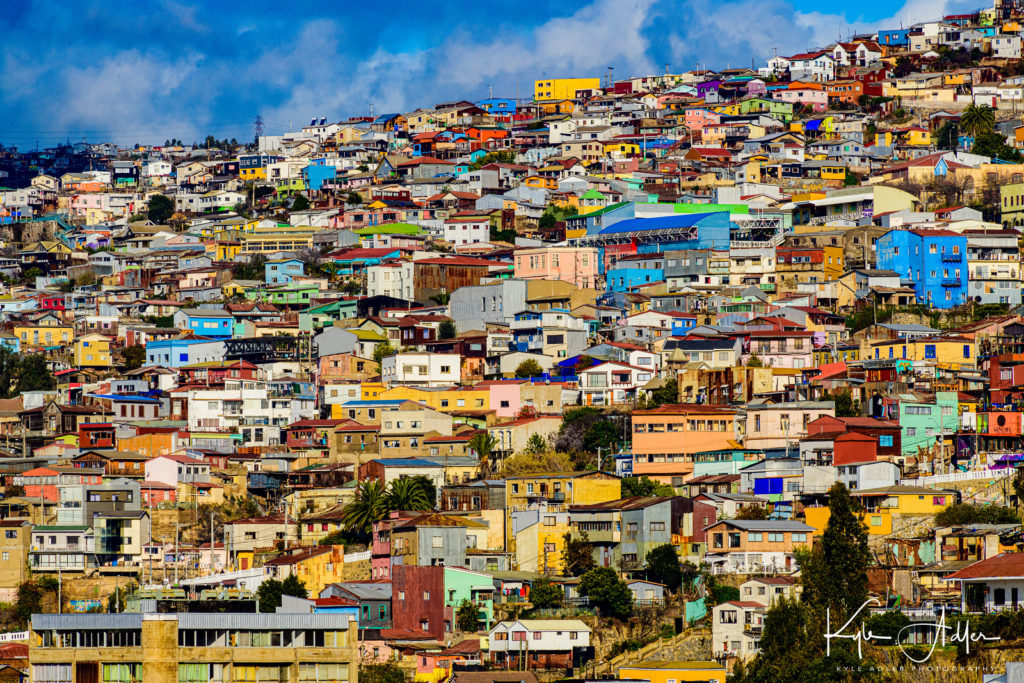
Glorious cityscape of Valparaiso.
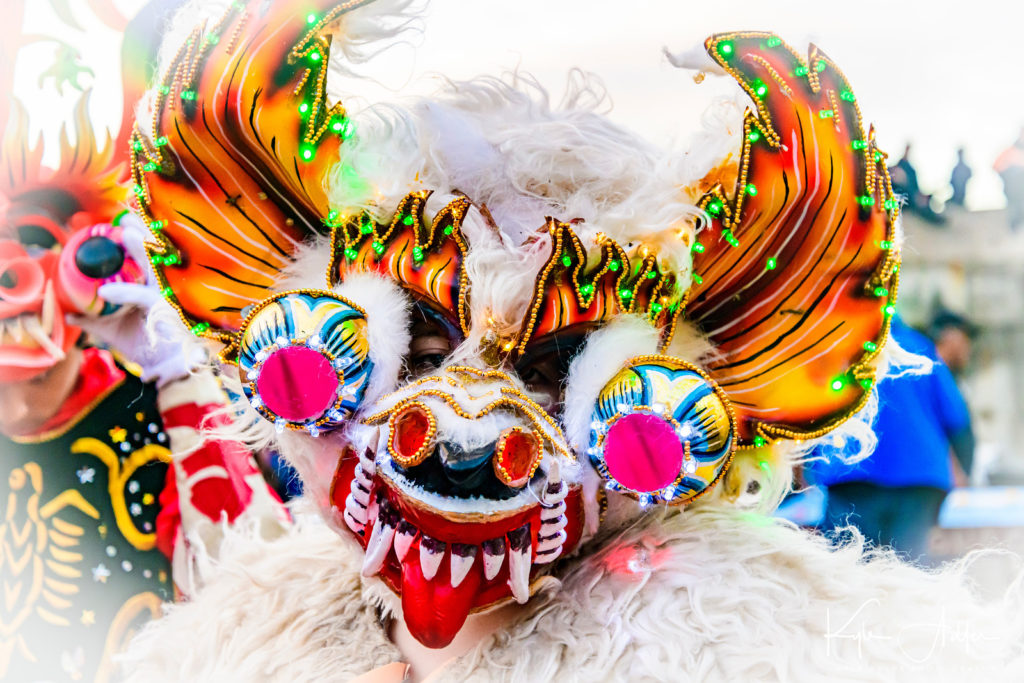
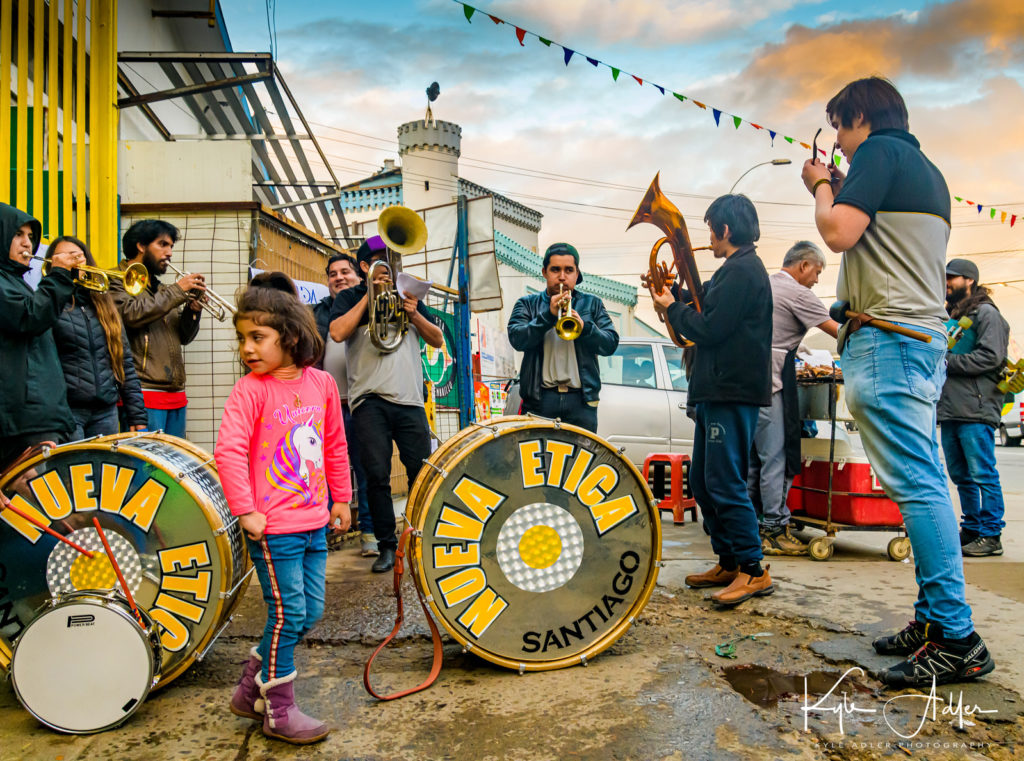
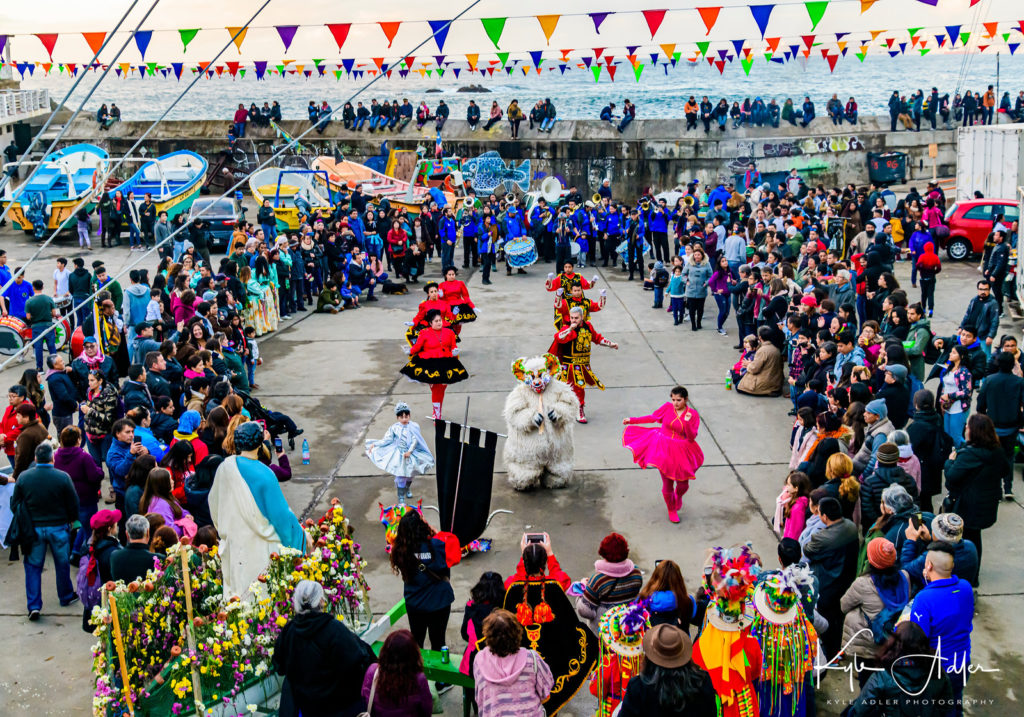
We were fortunate to visit Valparaiso on the day of the Festival of St. Peter and St. Paul.
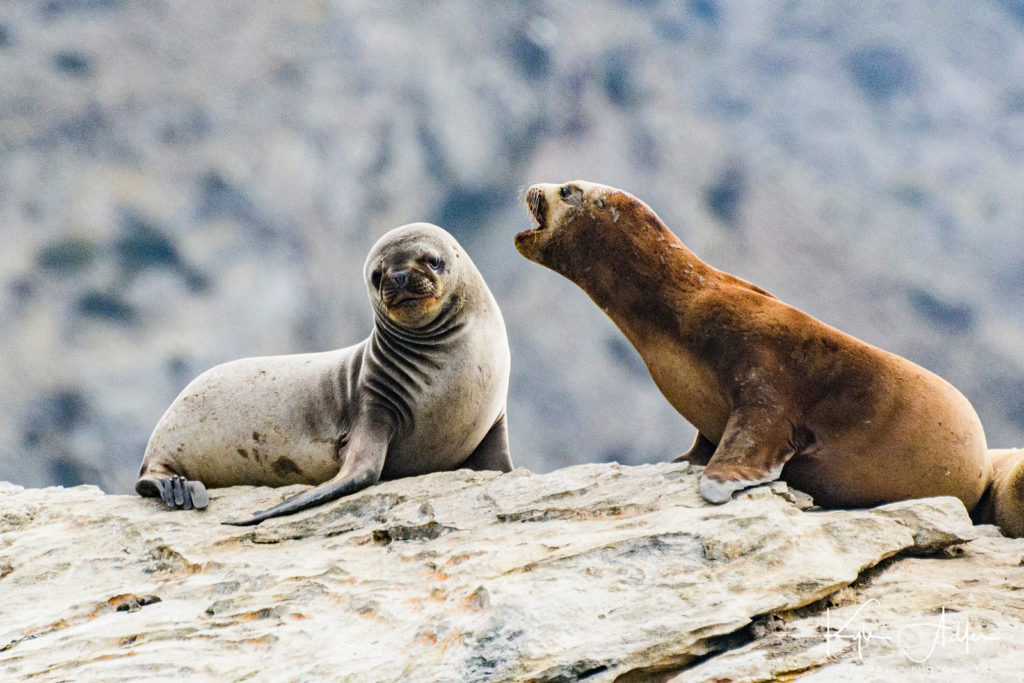
Sea lion sibling rivalry.
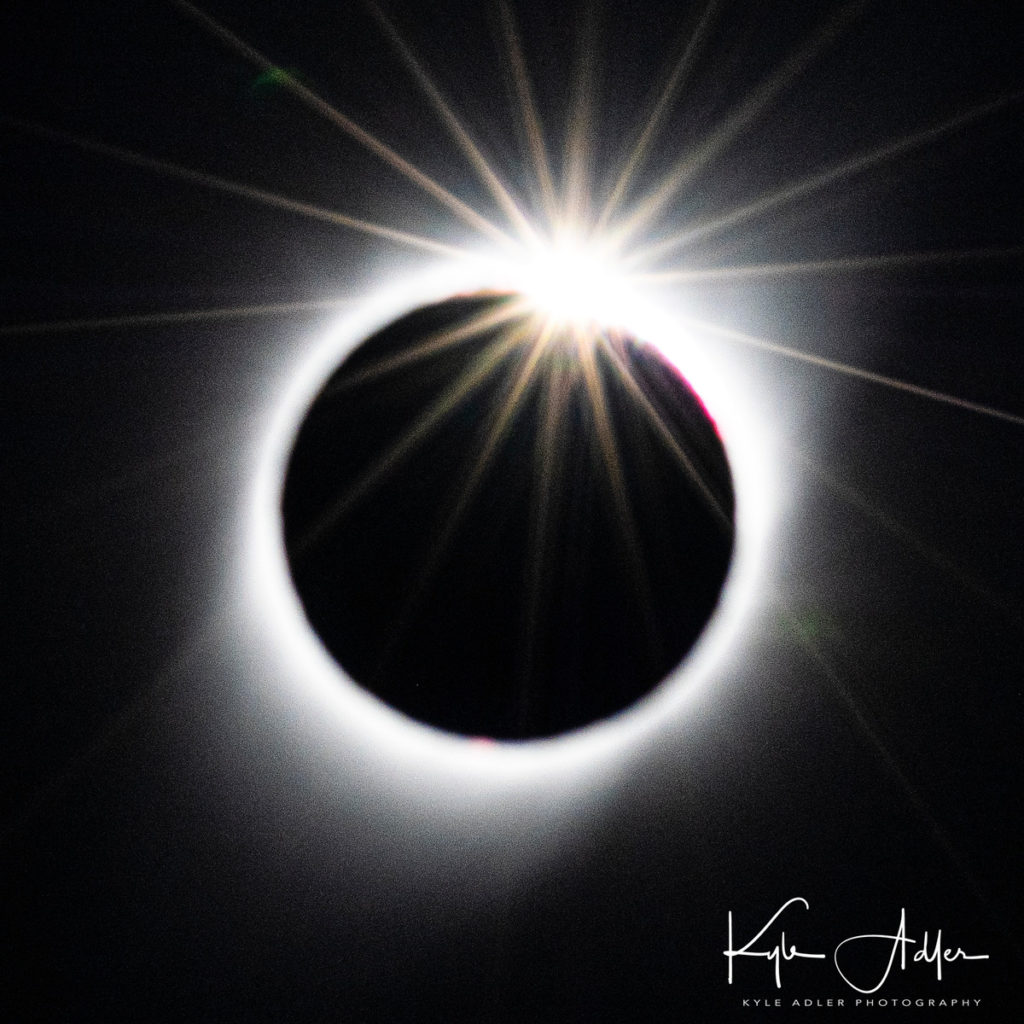
The diamond ring effect signals the start of the 2.5-minute period of totality.
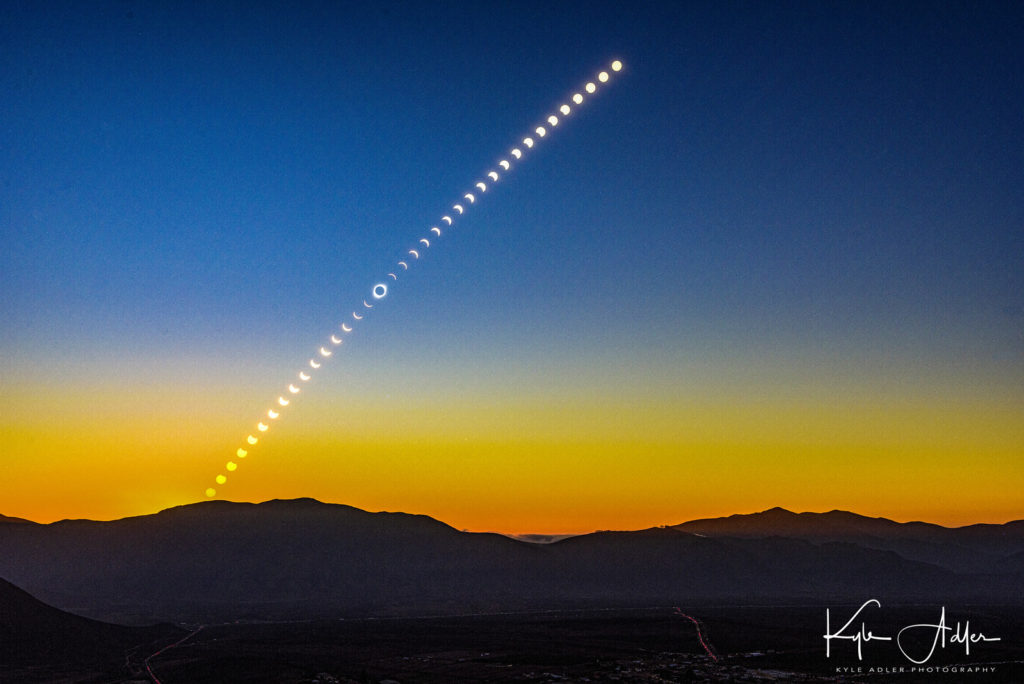
A timelapse montage showing the path of the sun across the sky during the entire solar eclipse and through to sunset.
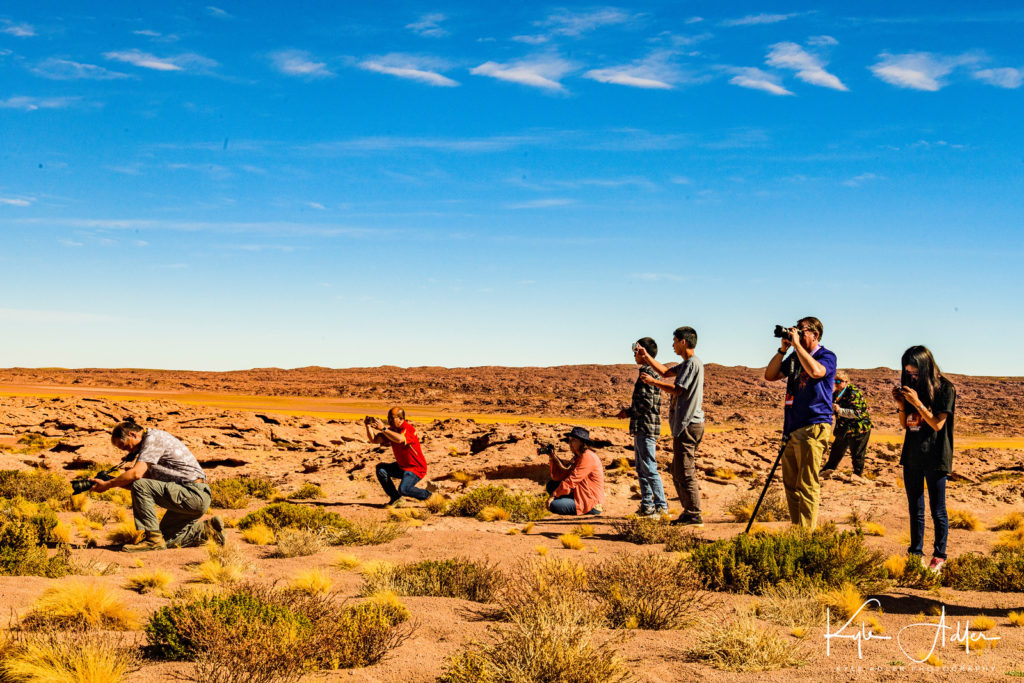
What we do on photography tours.
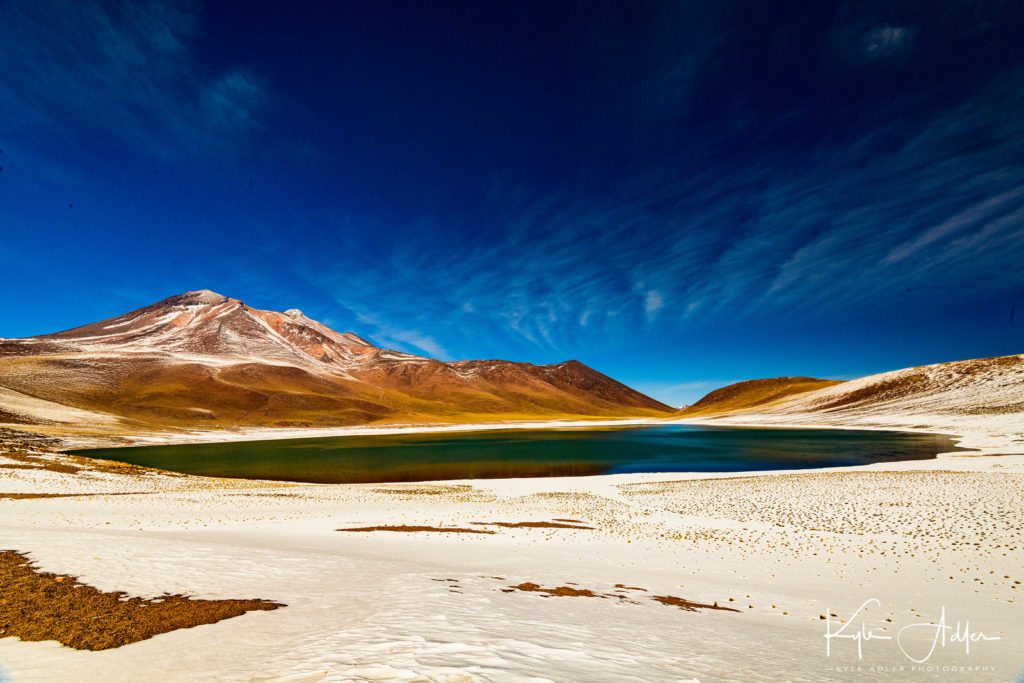
Glorious landscape around the Miscanti Lagoon.
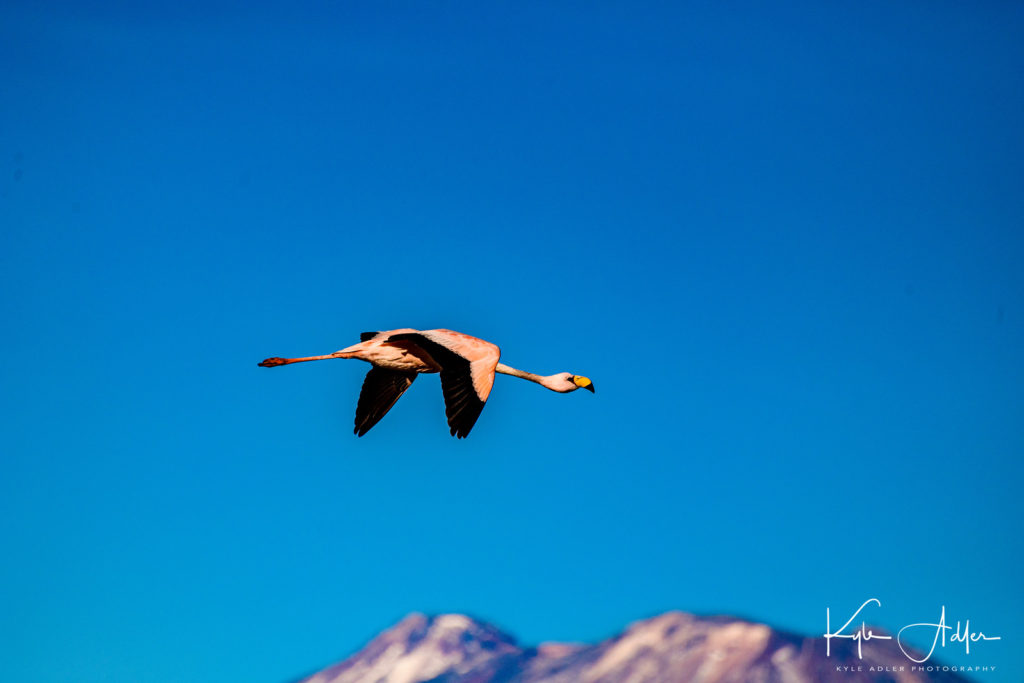
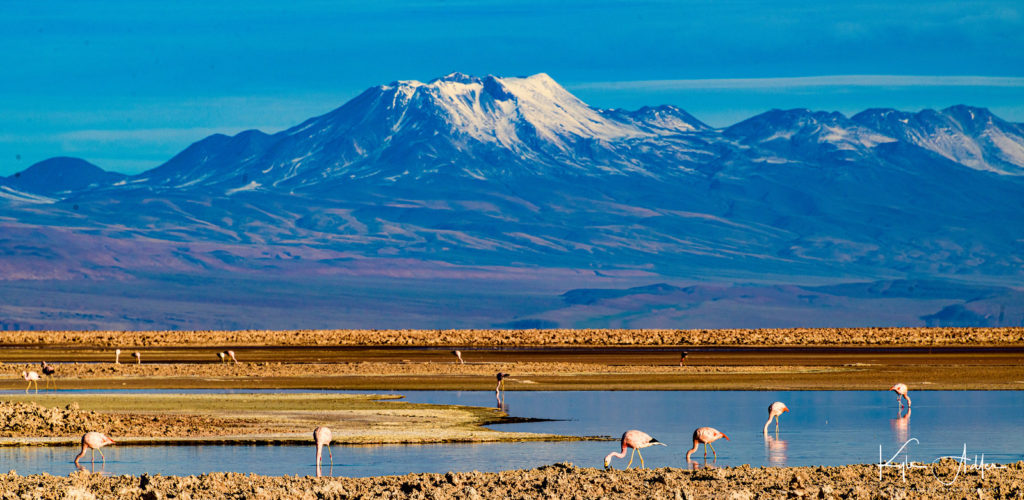
Three species of native pink flamingo live in the Atacama Salt Flat.
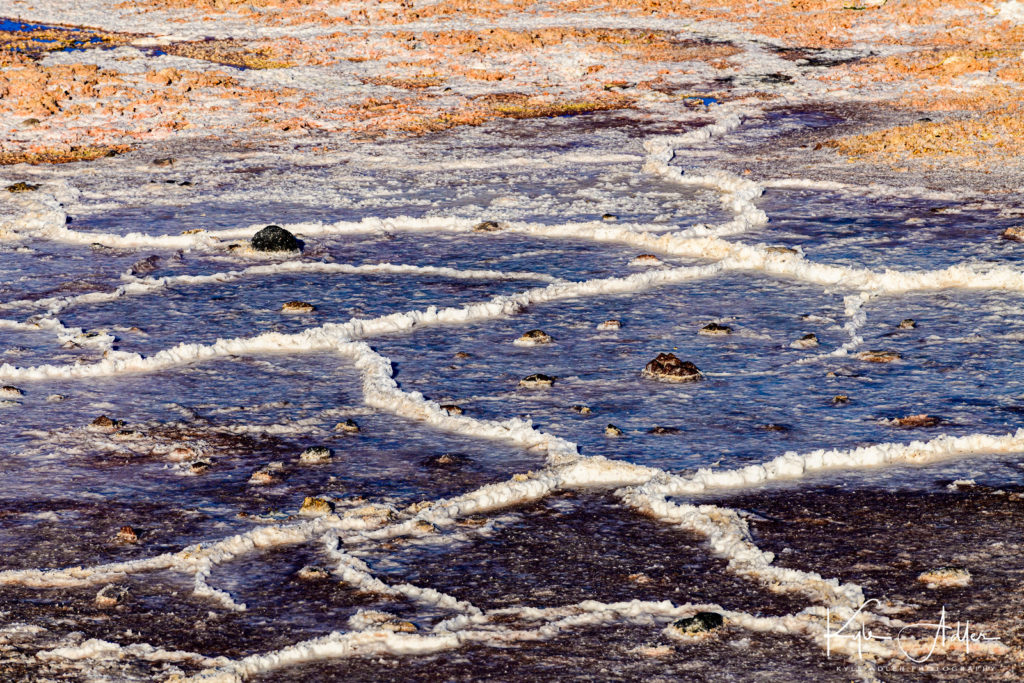
Pattern and texture on the Atacama Salt Flat.
Three species of native pink flamingo live in the Atacama Salt Flat.
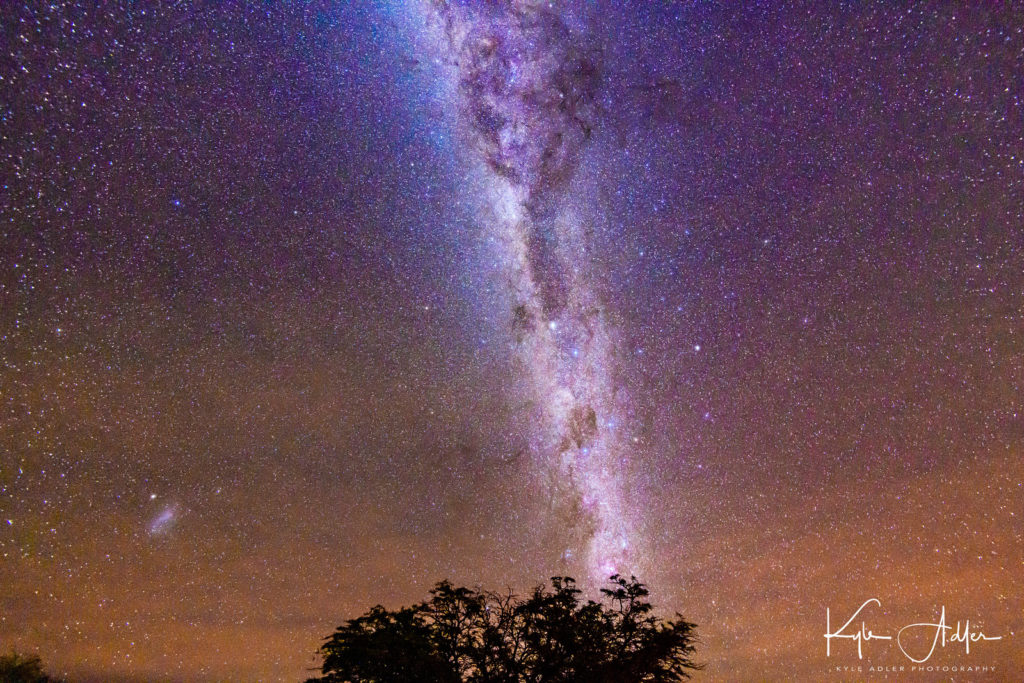
We were so fortunate to travel during a new moon in winter to the Atacama Desert. There’s no better combination of time and place for viewing (and photographing) the Milky Way.
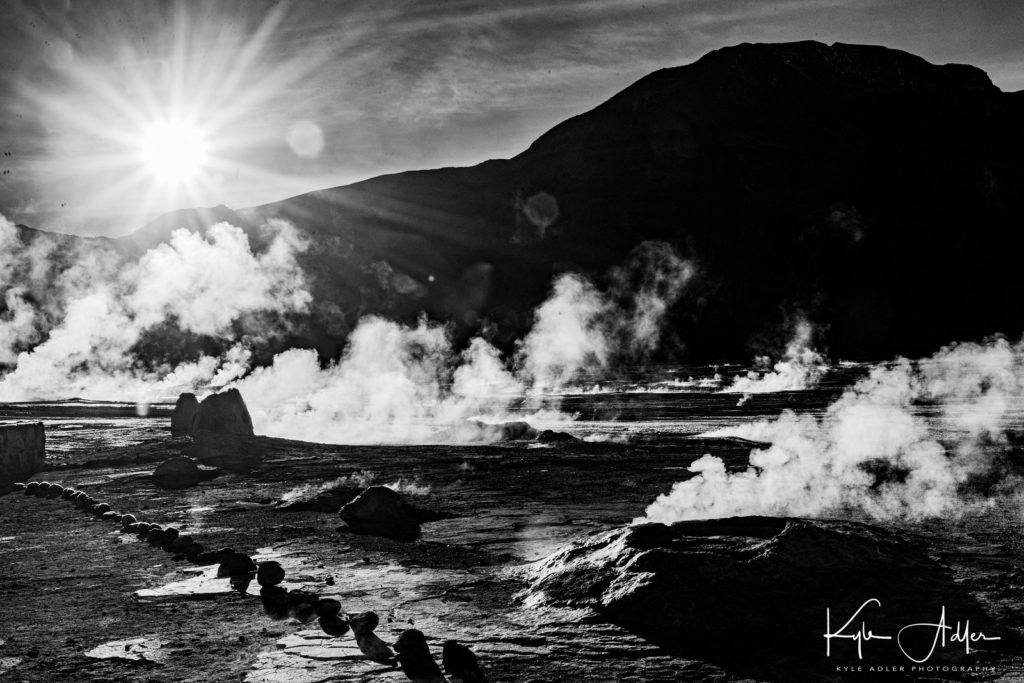
Tatio Geyser Field.
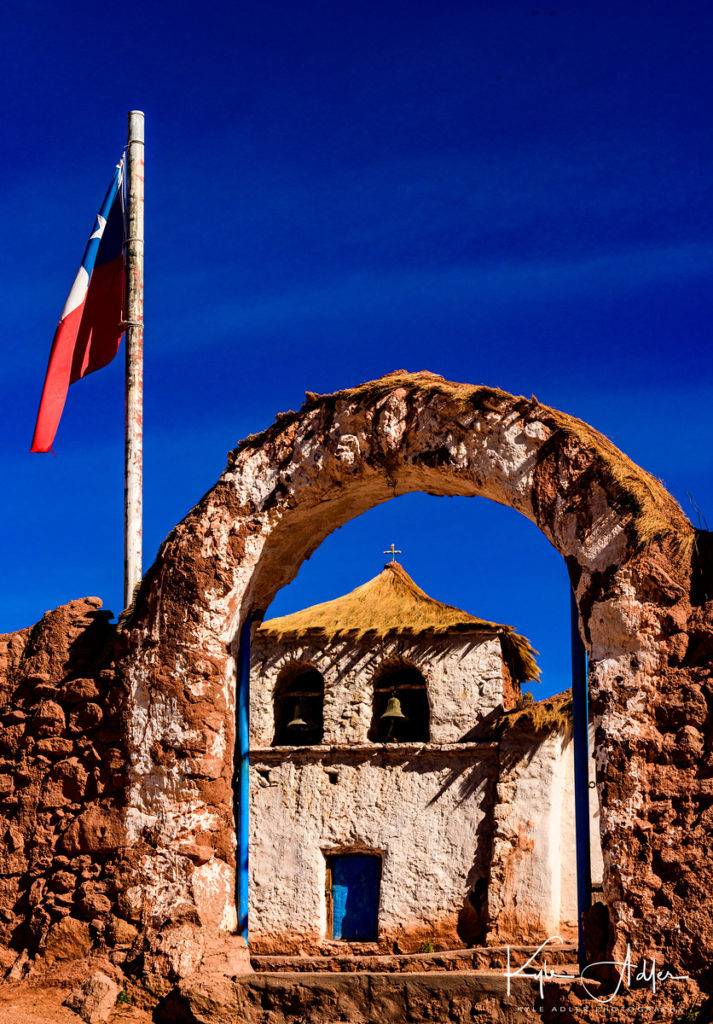
Old church in the village of Machuca.
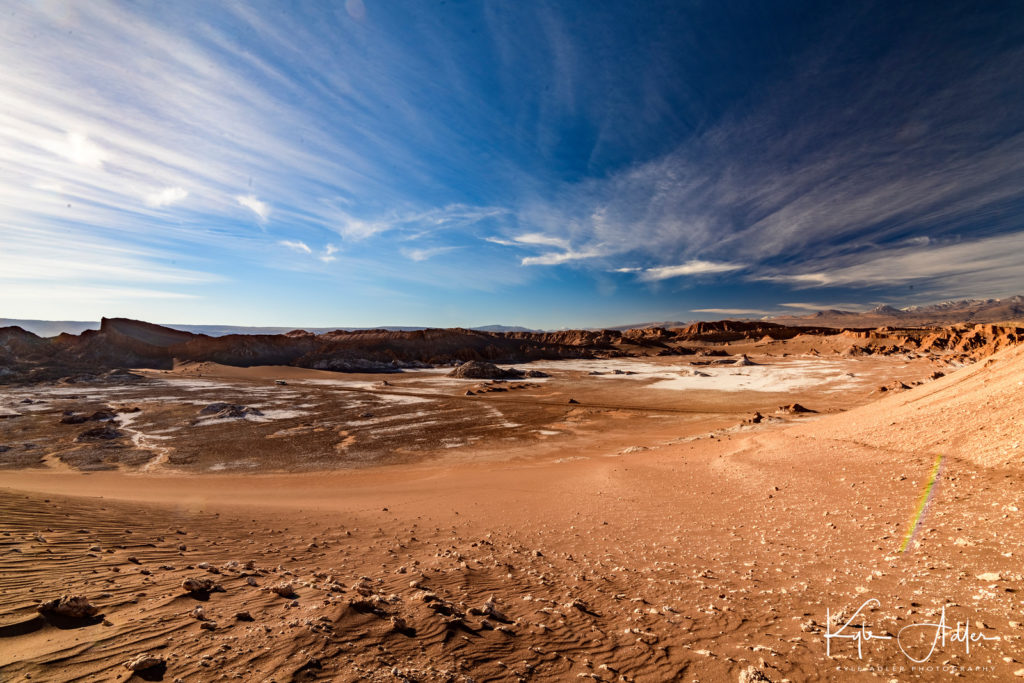
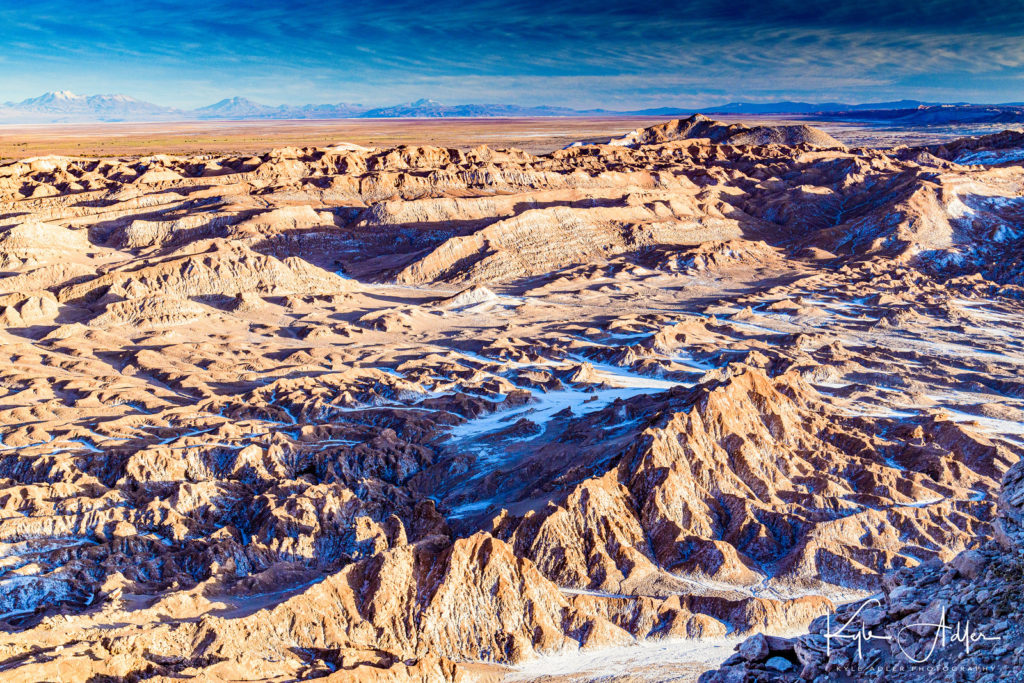
Valley of the Moon.
We enjoyed a breathtaking sunset at Kari Viewpoint in the Atacama Desert.
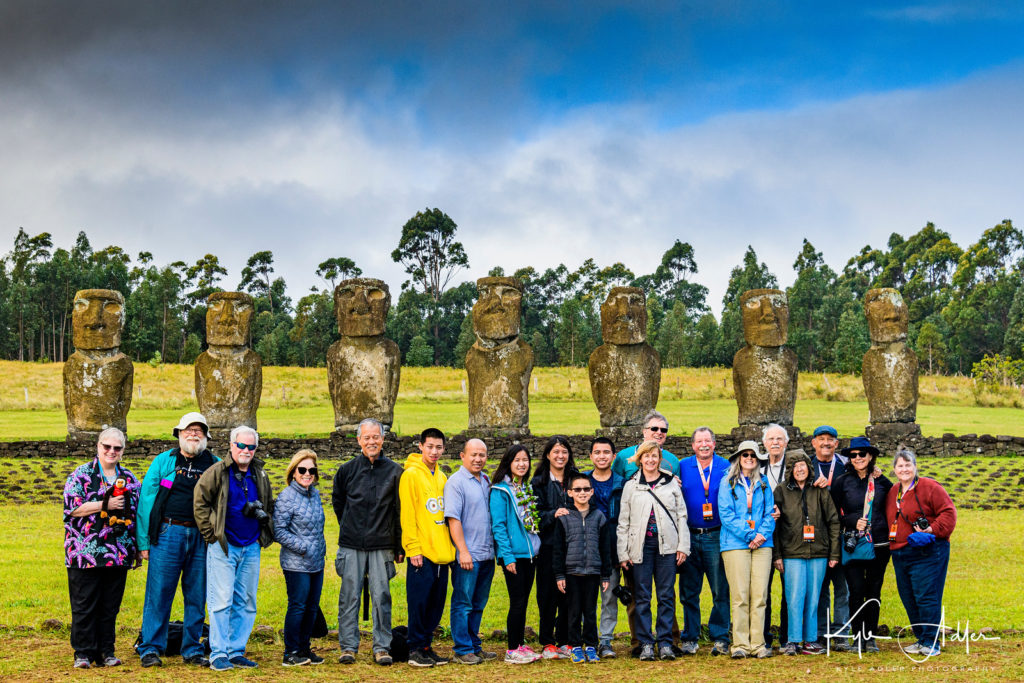
Group portrait of the entire Photography Tour team in front of the seven Mo’ai of Ahu Akivi on Easter Island.
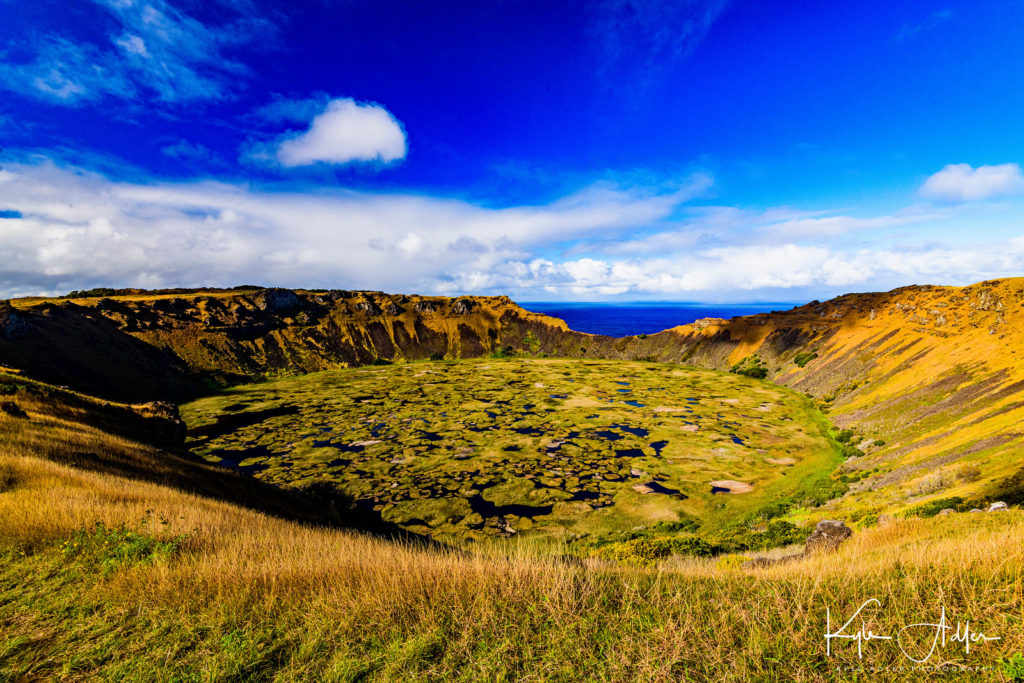
Orongo Crater.
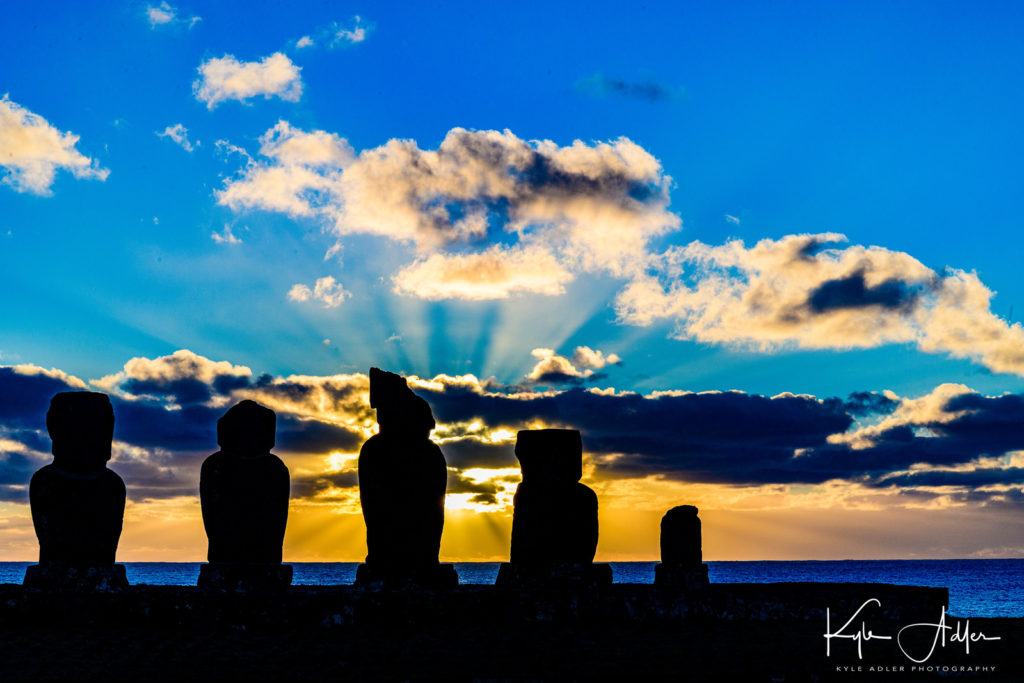
Gorgeous sunset over the ocean behind mo’ai.
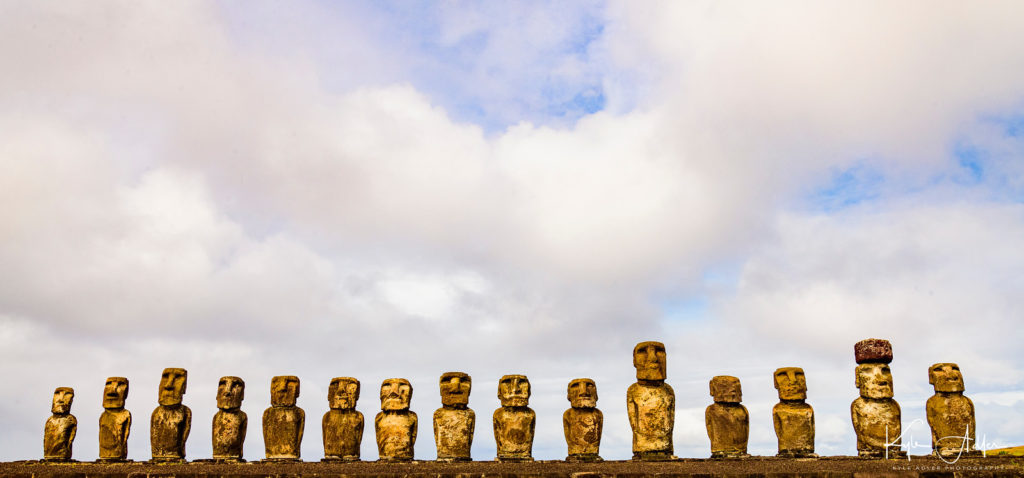
Ahu Tongariki is the largest ceremonial platform on Easter Island, once holding 16 mo’ai. After the mo’ai were toppled during a period of civil unrest and then, more recently, devastated by a tsunami, 15 of them were reconstructed with help from Japan.
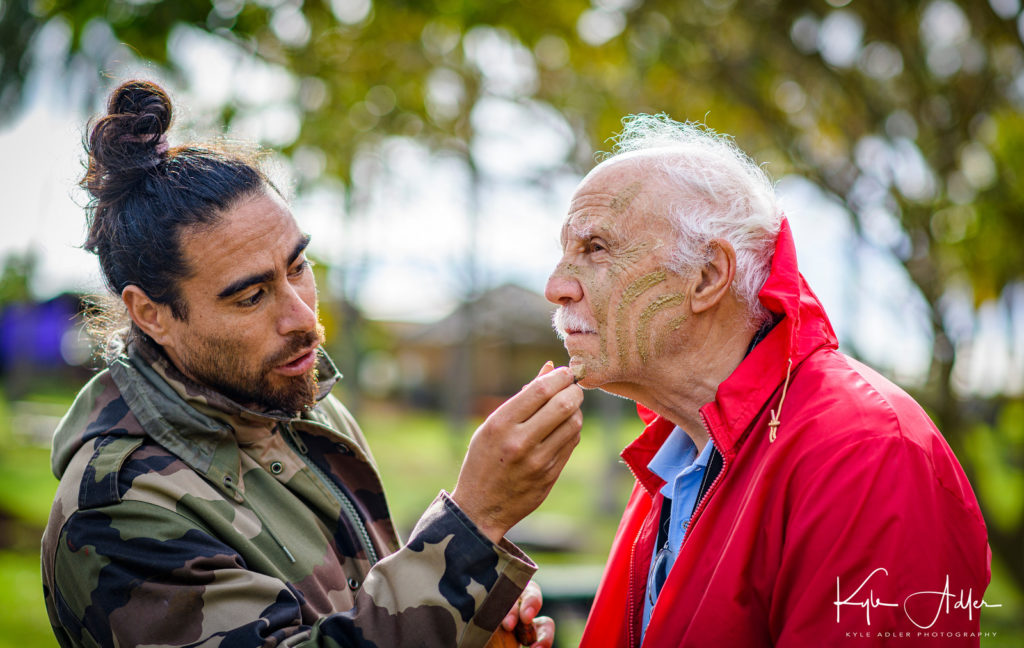
Traditional Rapa Nui face painting on Anakena Beach.
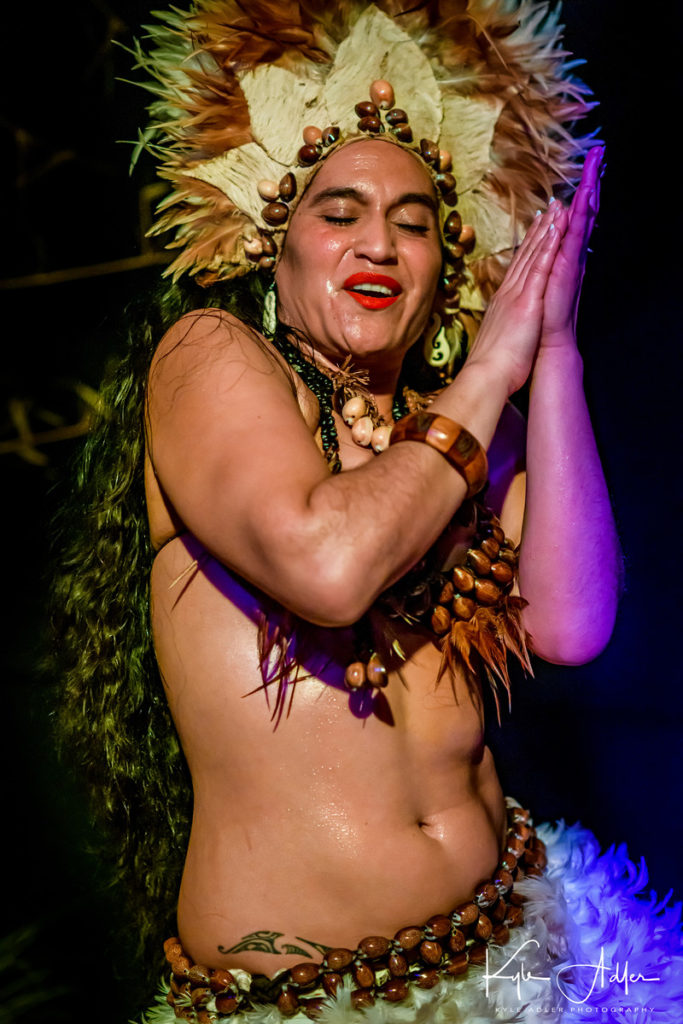
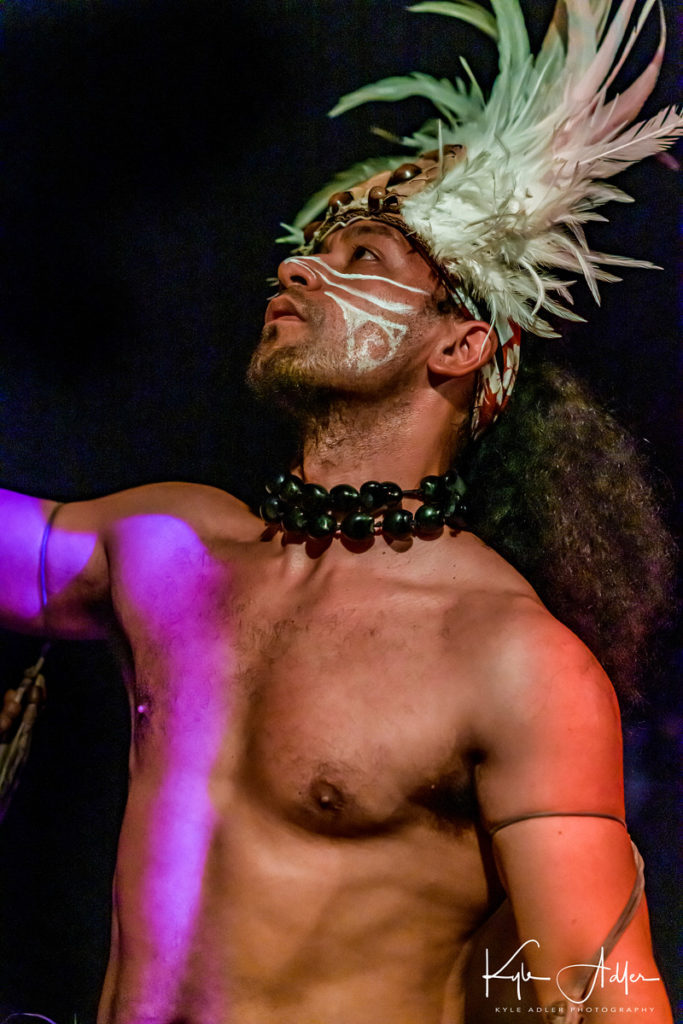
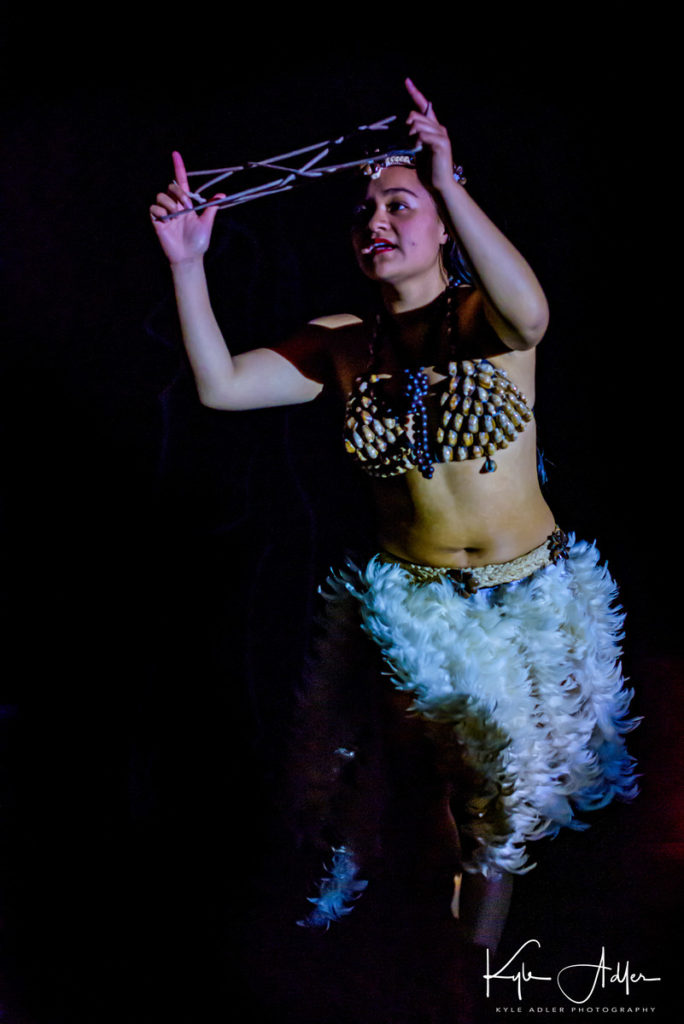
Vai Te Mihi performed a show of traditional Rapa Nui dance and music.
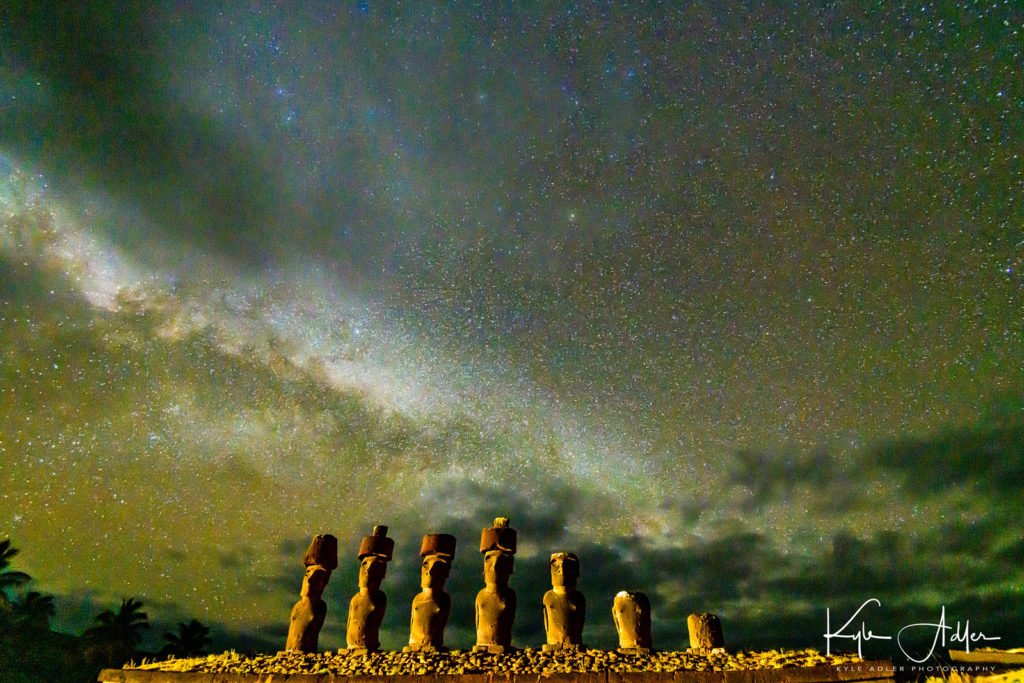
Worth the 3 AM wakeup call! A once in a lifetime opportunity to photograph the Milky Way above mo’ai on Easter Island. We had a bit of cloud cover, but overall I was very pleased with the resulting images.

I hope you’ve enjoyed this sampling of images from this amazing adventure. Please check out the full gallery here: https://www.kadlerphotography.com/Travel-Photography/Chile-Eclipse. And please join me for upcoming photography tours and workshops around the world: https://www.meetup.com/TravelPhotographyWorkshops/.